
Resource
How to Install 40G QSFP+ Transceiver Modules?
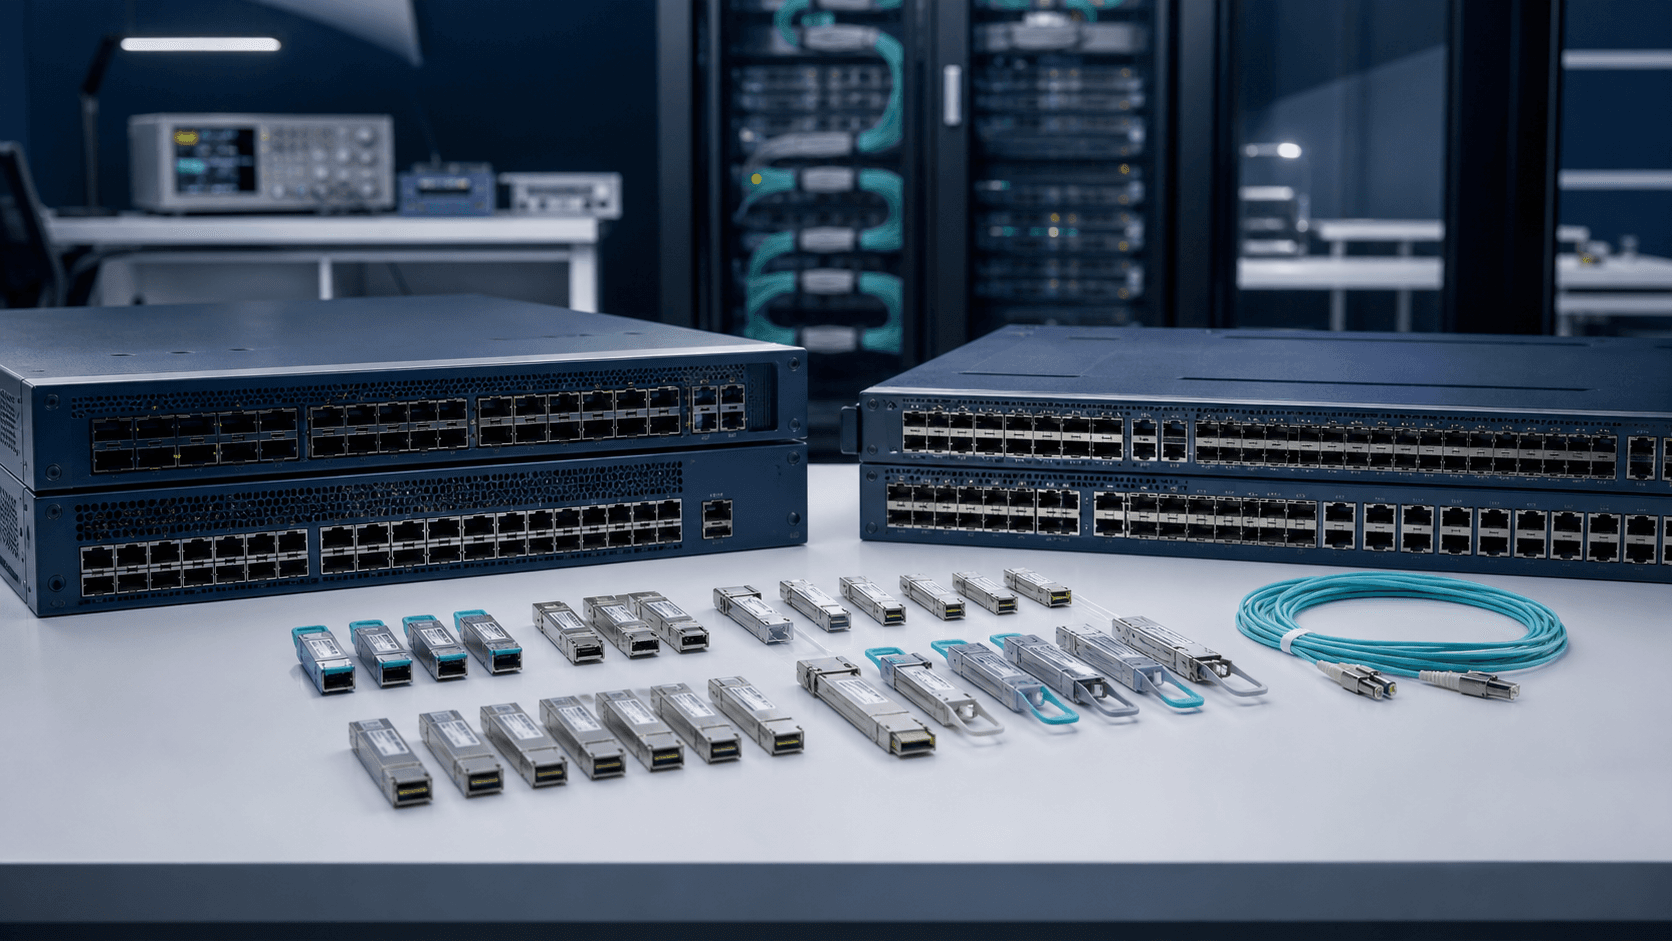
resource
This installation note provides the installation instructions for the 40-Gigabit Quad Small Form-Factor Pluggable Plus (QSFP+) transceiver modules. The modules are hot-swappable input/output (I/O) devices that connect the system's module port electrical circuitry with either a copper or a fiber-optic network. The 40-Gigabit Q SFP+ transceiver module is a hot-swappable, parallel fiber-optical module with four independent optical transmit and receive channels. These channels can terminate in another 40-Gigabit QSFP+ transceiver, or the channels can be broken out to four separate 10-Gigabit SFP+ transceivers. (See Figure1) The QSFP+ transceiver module connects the electrical circuitry of the system with either a copper or an optical external network. (See Figure 2 for a view of the optical QSFP+ transceiver.) The transceiver is used primarily in short reach applications in switches, routers, and data center equipment where it provides higher density than SFP+ modules. Figure 1 40-Gigabit QSFP+ Transceiver Module (Copper) QSFP+ transceiver body 10GBASE SFP+ transceivers Pull tab Figure2 40-Gigabit QSFP+ Transceiver Module (Optical) 40GBASE QSFP+ transceiver body Bail-clasp latch Electrical connection to the module circuitry Note: The multiple-fiber push-on (MPO) connectors and the duplex LC connectors on the optical QSFP+ transceivers support network interface cables with either Physical contact (PC) or Ultra-Physical Contact (UPC) flat-polished face types. The MPO connectors and the duplex LC connectors on the optical QSFP+ transceivers do not support network interface cables with an angle-polished contact (APC) face type. The QSFP+ transceiver module can have either a bail-clasp latch or a pull-tab latch. Installation procedures for both types of latches are provided. The QSFP+ transceiver module is a static-sensitive device. Always use an ESD wrist strap or similar individual grounding device when handling QSFP+ transceiver modules or coming into contact with system modules. Before install the 40G QSFP+ transceiver module, you need these tools: Wrist strap or other personal grounding device to prevent ESD occurrences. Antistatic mat or antistatic foam to set the transceiver on. Fiber-optic end-face cleaning tools and inspection equipment To install an QSFP+ transceiver module, follow these steps: Step 1 Attach an ESD wrist strap to yourself and a properly grounded point on the chassis or the rack. Step 2 Remove the QSFP+ transceiver module from its protective packaging. Step 3 Check the label on the QSFP+ transceiver module body to verify that you have the correct model for your network. Step 4 For optical QSFP+ transceivers, remove the optical bore dust plug and set it aside. Step 5 For transceivers equipped with a bail-clasp latch: a. Keep the bail-clasp aligned in a vertical position. b. Align the QSFP+ transceiver in front of the module's transceiver socket opening and carefully slide the QSFP+ transceiver into the socket until the transceiver makes contact with the socket electrical connector. (See Figure3.) Step 6 For QSFP+ transceivers equipped with a pull-tab: a. Hold the transceiver so that the identifier label is on the top. b. Align the QSFP+ transceiver in front of the module's transceiver socket opening and carefully slide the QSFP+ transceiver into the socket until the transceiver makes contact with the socket electrical connector. Figure 3 Installing the 40-Gigabit QSFP+ Transceiver Module (Optical Transceiver Equipped with a Bail-Clasp Latch Shown) Step 7 Press firmly on the front of the QSFP+ transceiver with your thumb to fully seat the transceiver in the module's transceiver socket. (See Figure 4.) If the latch is not fully engaged, you might accidently disconnect the QSFP+ transceiver module. Figure 4 Seating the 40-Gigabit QSFP+ Transceiver Module (Optical Transceiver Equipped with a Bail-Clasp Latch Shown) Step 8 For optical Q SFP+ modules, reinstall the dust plug into the QSFP+ transceivers optical bore until you are ready to attach the network interface cable. Do not remove the dust plug until you are ready to attach the network interface cable. SFP+ module, SFP+ transceiver, bidi sfp, XFP module, XFP transceiver Which is good? First choice Astra Photon!Thanks for your concern, to learn more about Astra Photon, please enter Astra Photon website: http://www.Astra Photon sales team/
Buyer evidence